
How to Create Weboc Child ID in 4 Easy Steps
If you supervise a group of employees that use Weboc, you probably run into a problem that many Weboc users have faced: only one computer can attach to a Weboc ID at a time. So, what do you do when there’s a need for multiple users to log in at once? You create a Weboc Child ID. This guide will take you through the process of creating a Child ID in only 4 steps.
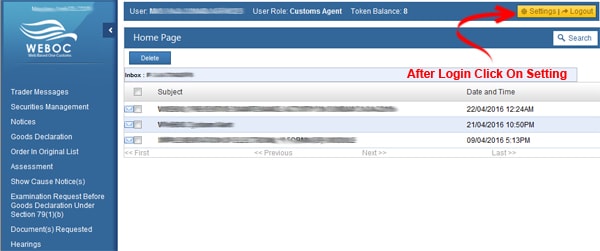
Step 1: Sign-in to Weboc
Visit the Weboc website and enter your username and password to login. Once you’re signed-in, the dashboard will come up. You will need to click the Settings link, like in the image below.
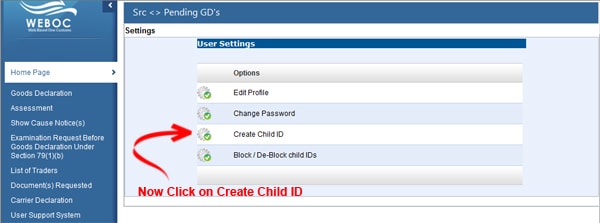
Step 2: Find the “Create Child ID” Menu
In the settings menu, find and select the option “Create Child ID”.
This will lead you to page that creates the Child ID.
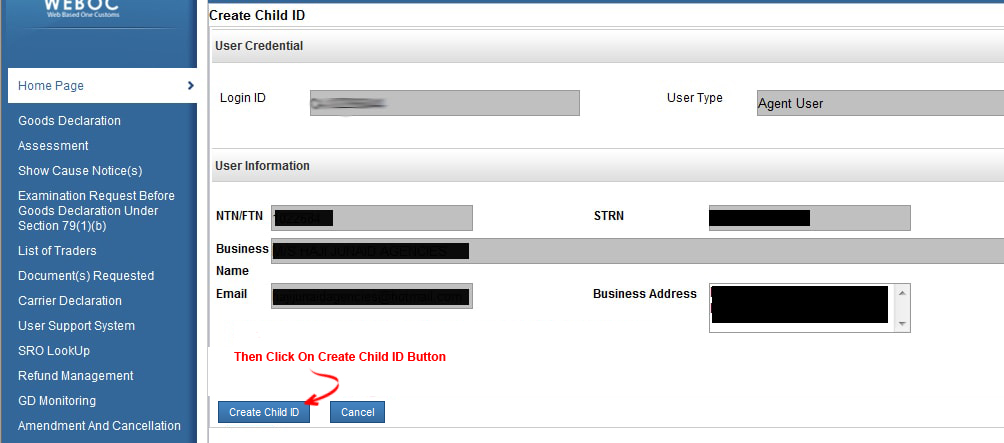
Step 3: Create a Child ID
On the Child ID page, your information will display. Click the button to the right that states “Create Child ID”. The Weboc system will then create a new Child ID instantly.
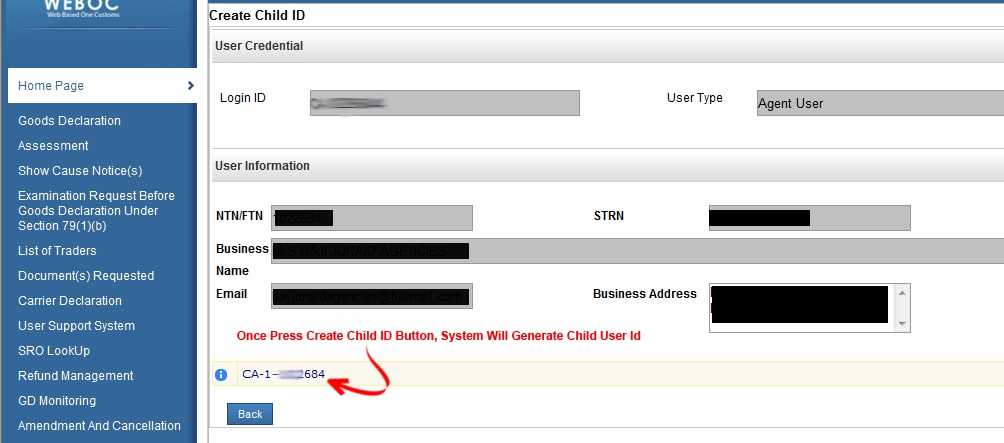
Step 4: Write Down the Child ID and Password
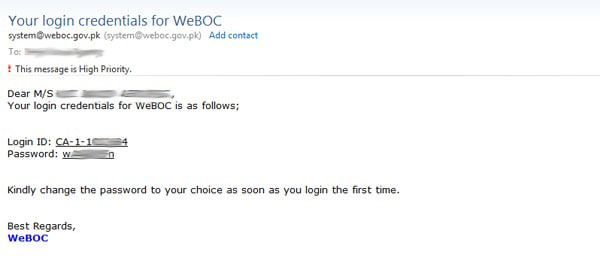
After the process is complete, the Child ID will display on your screen. The log in credentials will also be sent to the email address you registered with.
Be sure to write down the Child ID for your future use.
Send Weboc Login Credentials
After your NTN signup, the system will automatically email your Child ID and password to the email you entered at registration. You can now send these credentials to any employees that need to log into Weboc.
Advantages of Creating a Weboc Child ID
- Allows multiple employees to log into Weboc at the same time
- Prevents locking out an employee because someone was logged into a main account at the time
- Adds an extra layer of security when sharing access
Follow these 4 simple steps to create your Weboc Child ID and boost your productivity.